Introduction to Sketch
Sketch 101
Kick off the course by getting to know Sketch’s interface.


Get ready to learn Sketch in just 7 days!
Sketch is a lean, inexpensive vector graphics editor that has become a crucial tool for today’s UX and visual designers. It’s easier to use than Photoshop or Illustrator, and could help you to upskill fast! In Sketch 101, you’ll:
- Master key skills, including how to work with Sketch’s interface; create shapes, text, groups, and Symbols; and develop a solid, professional workflow.
- Apply your new knowledge by completing a hands-on tutorial each day. At the end of the week, you’ll have a complete webpage design to show off.
- Learn advanced techniques that other courses often miss, including how to create Bézier curves with the pen tool, unlocking a new level of creativity!
- Create your own awesome web layout to share, or even add to a portfolio.
We’d love to hear how you’re getting on! Share your work and questions on Twitter with the hashtag #Sketch101.
Day 1 Learning Objectives
- Find your way around Sketch’s interface
- Create an artboard and set up a grid
- Learn about the color picker, renaming, and duplicating
Estimated time to get familiar with Sketch and complete the Day 1 tutorial: 60 mins
First, some housekeeping
Install Sketch
Before you get started on the tutorials, get set up with a copy of Sketch. It will run on any Mac with OS X El Capitan (10.11) or higher, and you can download a 30-day free trial.
Set up the Roboto font
Make sure you’ve got the Roboto font installed, because it’s used in all of the course templates. Click here to download it for free.
Once downloaded, open the zip file, select all of the font files, and double click them.
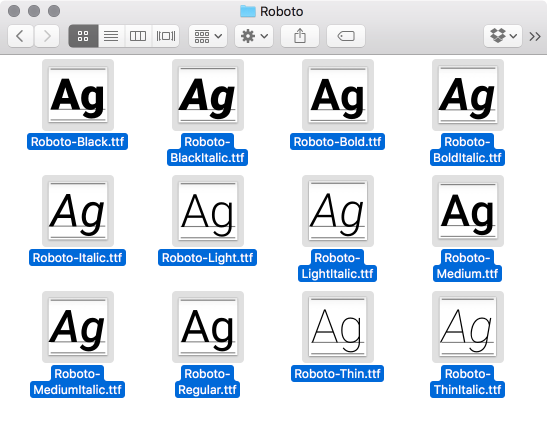
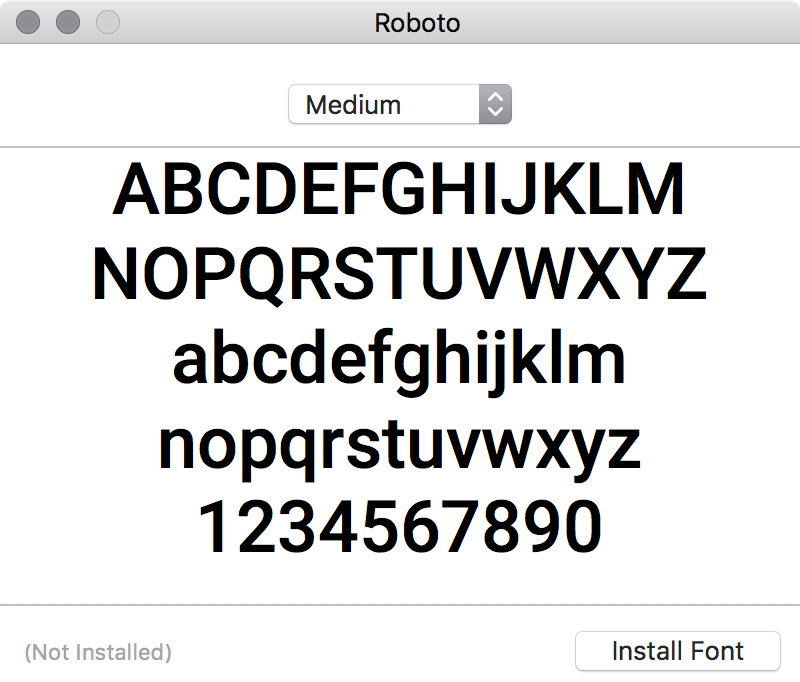
They’ll open up in Font Book. Click “Install Font” to install the full set of 12 fonts. (If you get an error message, it’s probably because you already have Roboto installed.)
How to follow the tutorials
We recommend resizing this browser window to about a quarter of your screen width, and placing it on the left of the display. Then, resize your Sketch window and drag it to the right, so that you can work in Sketch and follow the tutorial text at the same time.
Learning Sketch’s interface
Once you’ve installed Sketch, take a moment to understand its interface. It’s quite intuitive and, helpfully, the toolbars and control panels always stay in the same place! When working in Sketch, you’ll spend most of your time looking at a screen layout like this. Here’s a screenshot labelled with the basic areas of the interface and what each one is:

Toolbar
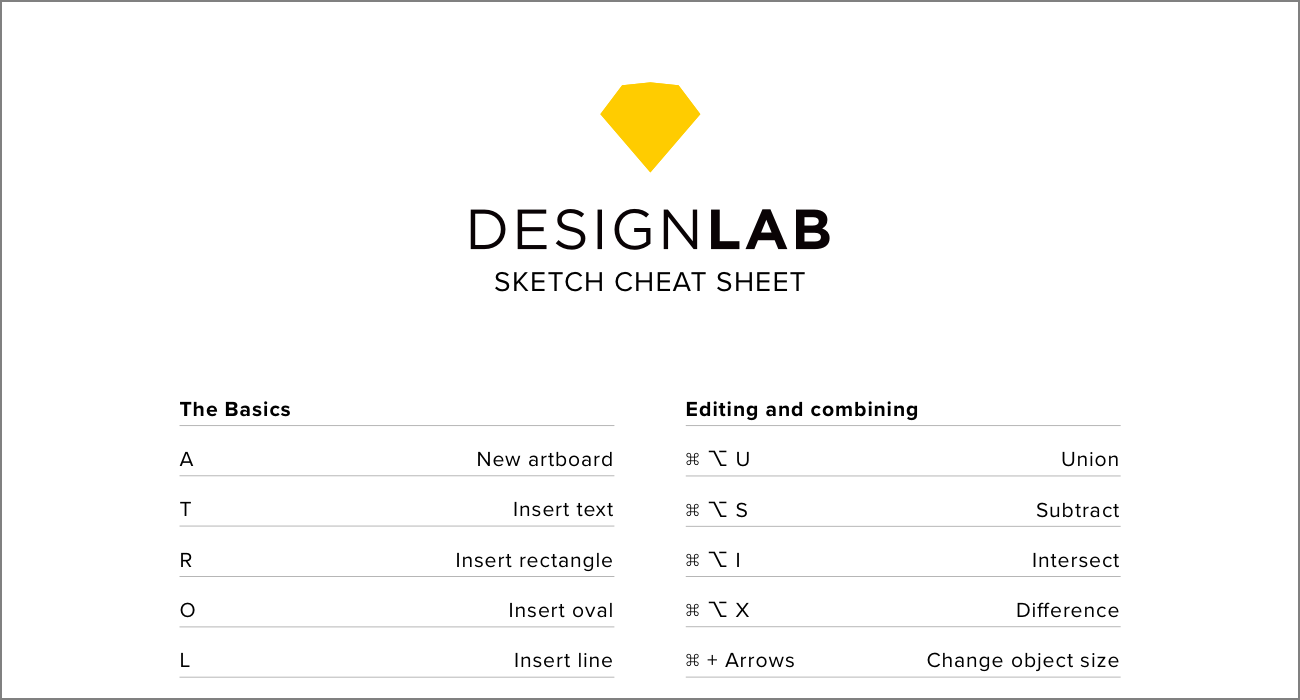
Allows you to access frequently used commands. Most commands can also be accessed using a keyboard shortcut, which is quicker. (We’ve got a Cheat Sheet of Sketch keyboard shortcuts for you — it's available as a free download at the end of today's content.)
Layer list
This panel shows you a list of everything in the Sketch file you have open. In Sketch, all elements are layers — so a shape like a circle appears in the list as a separate layer, and its position in the list tells you which layers it is in front of or behind. You can also give each layer a name.
Inspector
The Inspector displays detailed information about the selected layer, and allows you to make precise adjustments, For example, you can manually set the X and Y position of a point, or change a shape’s width or height. The Inspector also allows you to choose opacity, fill, border, layer alignment, shadows, blurs, and export settings.
Artboard
Sketch organises your work within pages and artboards. Artboards allow you to create multiple compositions on the same page. This can be especially useful for maintaining efficient workflow. For example, you might want to keep a record of each iteration when you’re working on developing a logo, or you might want to create screen mockups for multiple devices on the same canvas. Each Sketch document can contain multiple pages (a page is basically a fresh canvas), and each page can contain multiple artboards. Think of an artboard as a frame that you can place around a design.
Now that we’ve got the basics of the Sketch interface covered, let’s dive into our first tutorial!
Day 1 Tutorial: Set up your artboard
Throughout this course, you can follow the tutorials using the step-by-step instructions below. Each day, there are also files to download at the end. The idea of these files is to allow you to compare them with your work, experiment with additional templates, and see what more is possible.

1. Create an artboard
Open up Sketch, press [[A]], and then select “Desktop HD” from the Inspector on the right. You’ve now created a new artboard, size 1440 by 1024 pixels. Note that all measurements in Sketch are in pixels. You can also create artboards by pressing [[A]], and then clicking and dragging on the Canvas.

2. Zoom in and out
Practice zooming in and out from the artboard using [[⌘]] + [[+]] and [[⌘]] + [[-]]. [[⌘]] + [[1]] will zoom to show all artboards, and [[⌘]] + [[2]] will zoom to show the object currently selected. If you’re using a trackpad, you can also use a pinch gesture to zoom in and out.
3. Rename the artboard
Press [[⌘]] +[[R]] to rename the Artboard. Name it “Day 1” and press [enter] to confirm. You’ll see that the name has changed both in the layers list (on the left), and also above the Artboard itself. You can use this method to rename any object you create.
4. Select and deselect
Practice selecting the artboard with your mouse. To select an artboard, click the artboard’s name label, either on the canvas or in the layers list. The resize handles will appear, indicating that it is selected. To deselect an artboard, press escape], or click somewhere on the canvas outside the artboard.
5. Customize the toolbar
Right-click anywhere in the toolbar at the top of the screen, and select “Customise Toolbar”. Let’s add the “Vector” tool to the Toolbar by dragging it up to the Toolbar (note that you drag it up to the “real” toolbar, not down to the other one within the window!)
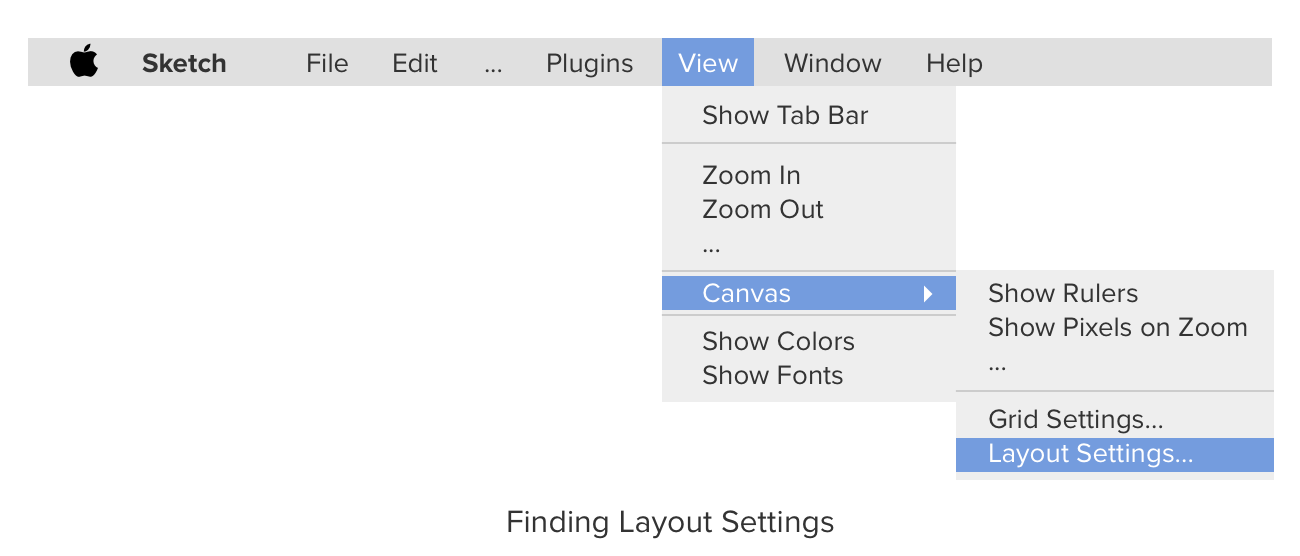
6. Set up a grid
Let’s create a 12-column grid right at the start of our work so that we can keep the final layout in mind. To set up a grid, click View > Canvas > Layout Settings. Let’s change the default grid from 960px to 1200px, then let’s change the gutter width to 20px, then let’s click “Center”. Click OK to close the window. Your artboard is now set up!

7. Choose a background color
Select your artboard as per step 4 above. Tick “Background color” in the Inspector, then click the color square to bring up the color picker. Use the color picker to choose a background shade that you like. Pick a hue you like from the color/hue slider, and then pick a shade that is very light and close to white.

8. Undo your background color choice
You now know how to use the color picker! Press [[⌘]][[Z]] to undo this and return to the plain white background. You might need to press [[⌘]][[Z]] more than once, depending how many steps you took when choosing a color.
9. Duplicate your artboard
At the end of each day, we will duplicate our artboard and rename the new version. This is so that we always have the previous iteration to go back to if we want. This is an important part of establishing a “non-destructive” workflow – meaning that we will never lose any versions of our work. To duplicate your artboard, select the artboard as per step 4 above, then press [[⌘]] [[D]] to duplicate. A copy of the artboard will be created to the right of your original.
10. Rename your artboard
Rename this new artboard as per step 3 above, and call it “Day 2”. You’re now ready for tomorrow!
That wraps up Day 1 of Sketch 101. How are you getting on? Any questions or difficulties? Let us know in the comments and we’ll help out.
And don’t forget, you can download our handy Sketch Cheat Sheet below. See you tomorrow!
Bonus material

Working with Shapes
Learn to create, align, transform, and rotate shapes.